Note
Access to this page requires authorization. You can try signing in or changing directories.
Access to this page requires authorization. You can try changing directories.
This quickstart shows how to deploy your project to Azure by using GitHub Copilot modernization.
During development, you often need to deploy your project to a cloud environment for testing. The GitHub Copilot modernization extension automates the deployment process, deploying your migrated project to Azure and fixing any deployment errors along the way.
Prerequisites
- An Azure account with an active subscription. Create one for free.
- A GitHub account with an active GitHub Copilot subscription under any plan.
- One of the following IDEs:
- The latest version of Visual Studio Code (version 1.113 or later) with the following extensions:
- GitHub Copilot in Visual Studio Code. For setup instructions, see Set up GitHub Copilot in Visual Studio Code. Be sure to sign in to your GitHub account within Visual Studio Code.
- GitHub Copilot modernization. Restart Visual Studio Code after installation.
- The latest version of IntelliJ IDEA (version 2023.3 or later) with the following plugins:
- GitHub Copilot (version 1.5.59 or later). Be sure to sign in to your GitHub account within IntelliJ IDEA.
- GitHub Copilot modernization. Restart IntelliJ IDEA after installation.
- The latest version of Visual Studio Code (version 1.113 or later) with the following extensions:
Deploy your project
Use the following steps to start the deployment process:
Open your project in Visual Studio Code.
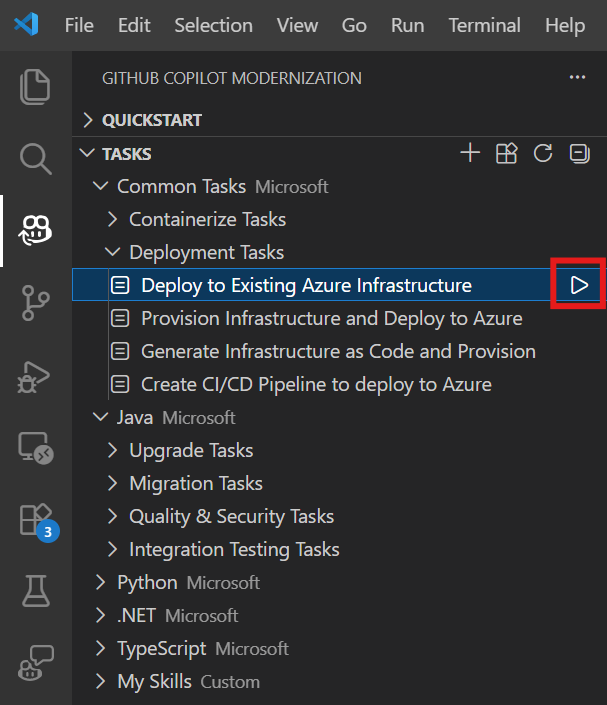
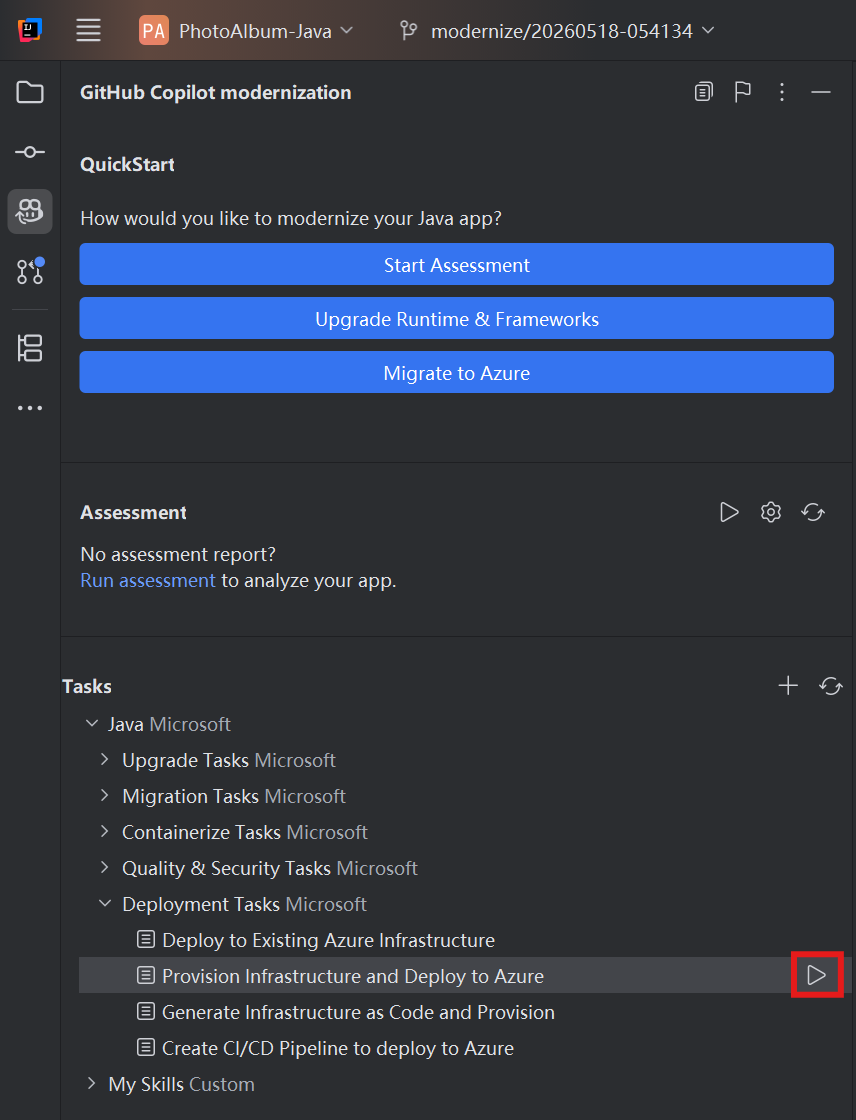
From the Activity sidebar, open the GitHub Copilot modernization extension pane. Under Tasks, open Java/Deployment Tasks and select one of the following tasks:
If you already have Azure infrastructure provisioned, select task Deploy to Existing Azure Infrastructure and select Run.
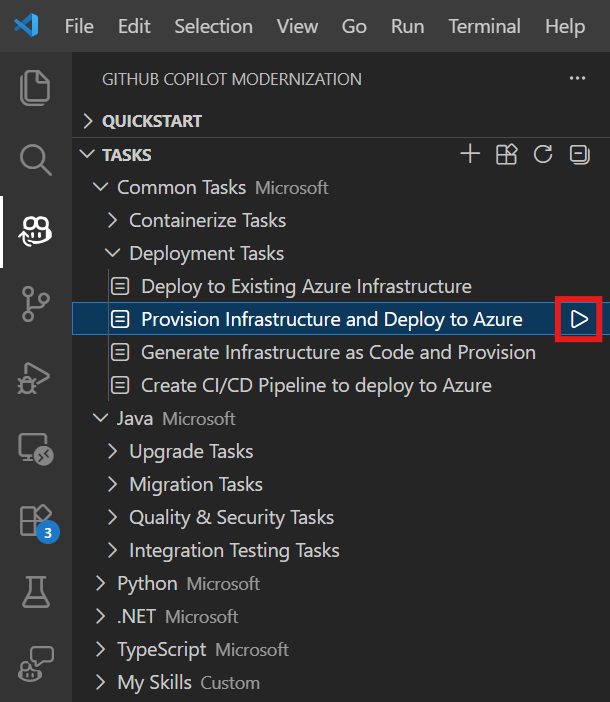
If you don't have infrastructure yet, select task Provision Infrastructure and Deploy to Azure and select Run.
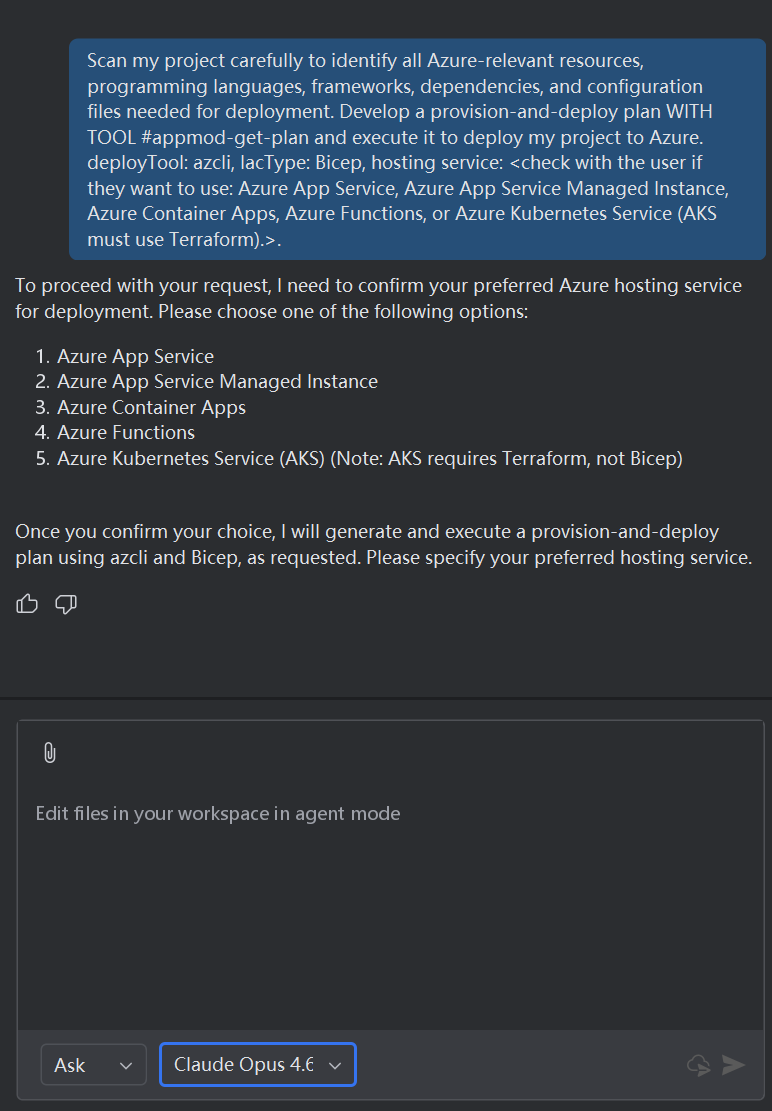
After you select the button, the Copilot chat window with Agent Mode opens automatically.
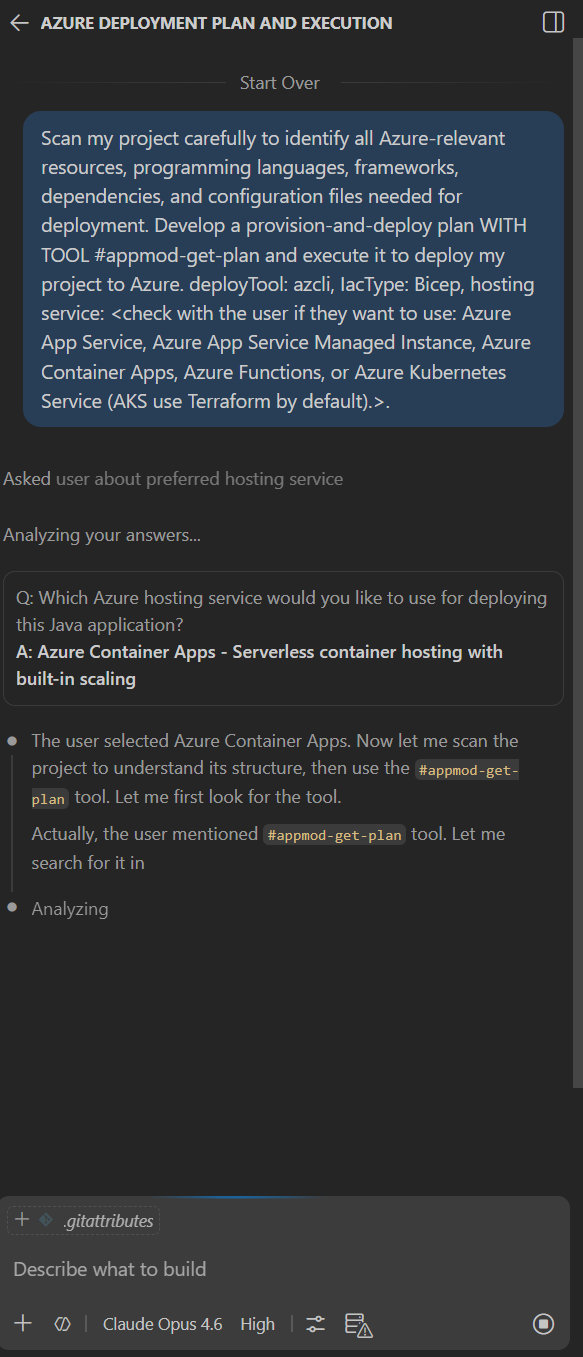
In the Copilot Chat window (opens automatically in Agent Mode), select Continue to approve each tool action, and provide details like subscription and resource group when prompted.
Copilot typically goes through the following steps to deploy your project:
- Copilot generates a deployment plan markdown file with the deployment goal, project information, Azure resource architecture, Azure resources, and execution steps.
- Copilot follows the execution steps in this file.
- Copilot fixes deployment errors.
- Copilot generates a summary file explaining the results of the deployment.


Note
Use Claude Opus 4.5 or later models for the best results.
It might take Copilot a few iterations to correct deployment errors.
Deploy your project
Use the following steps to start the deployment process:
Open your project in IntelliJ IDEA.
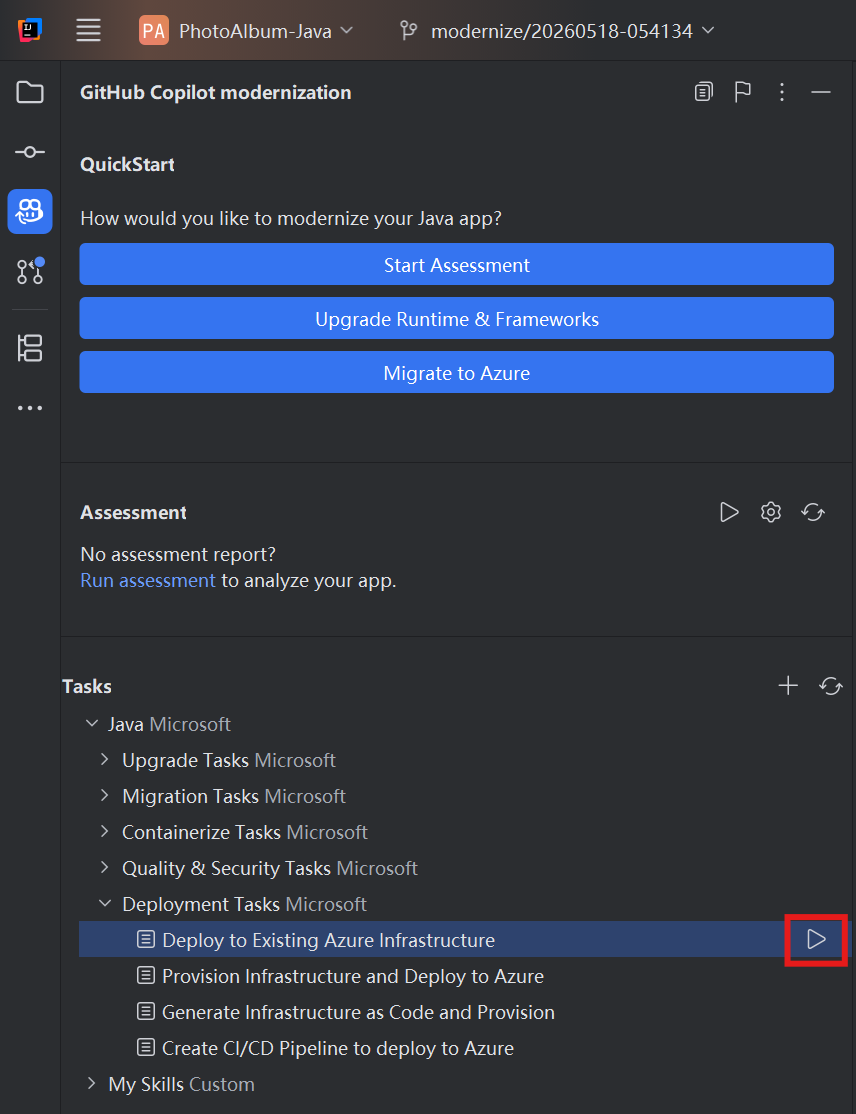
From the Activity sidebar, open the GitHub Copilot modernization extension pane. Under Tasks, open Java/Deployment Tasks and select one of the following tasks:
If you already have Azure infrastructure provisioned, select task Deploy to Existing Azure Infrastructure and select Run.
If you don't have infrastructure yet, select task Provision Infrastructure and Deploy to Azure and select Run.
After you select the button, the Copilot chat window with Agent Mode opens automatically.
In the Copilot Chat window (opens automatically in Agent Mode), select Continue to approve each tool action, and provide details like subscription and resource group when prompted.
Copilot typically goes through the following steps to deploy your project:
- Copilot generates a deployment plan markdown file with the deployment goal, project information, Azure resource architecture, Azure resources, and execution steps.
- Copilot follows the execution steps in this file.
- Copilot fixes deployment errors.
- Copilot generates a summary file explaining the results of the deployment.


Note
Use Claude Opus 4.5 or later models for the best results.
It might take Copilot a few iterations to correct deployment errors.
Customize with your own prompts
The deployment task buttons send predefined prompts. For more control, type a custom prompt directly in the Copilot chat with Agent mode to specify the target Azure resource, subscription, resource group, scaling preferences, or environment configuration.
Tip
Example prompts:
"Deploy my app to the AKS cluster in subscription: <sub-id>, resource group: <rg-name>"- target a specific Kubernetes cluster."Deploy my containerized application to Azure Container Apps and configure auto-scaling with a minimum of 2 replicas"- specify scaling preferences.